How and Why to Use Floral Foam
What might be the most important thing to know about using floral foam?
That it was invented in 1954? That choosing the right density for stems makes designing easier and more secure? That nearly 400 different Smithers-Oasis foam products are available? That today’s OASIS foam biodegrades 100 percent (see more below)?

Yes, these are important. As are the tips on choosing, prepping and using floral foam efficiently you’ll find below.
But perhaps the No. 1 most important thing to know about using floral foam is to …
Let it sink in
Sound like a T-shirt slogan? Perhaps.
Here's what's certain: when wetting floral foam, always place the block or brick on top of the water and …
Let it sink in.
Why? Because floral foam has air-filled cells. As water moves into the cells, air is pushed out and the foam sinks and saturates.
Press the foam into the water and you can create an air pocket at the center. Any flower stems reaching this dry space will not have a water source.
So please don’t push it down.
You’ll find more on hydrating correctly later in this article. But first …
Why use floral foam?

Because it stabilizes flowers. Floral foam also holds water (adding flower food is recommended), which increases fresh flower longevity.
Foam's stability means you can create and deliver the design you intend.
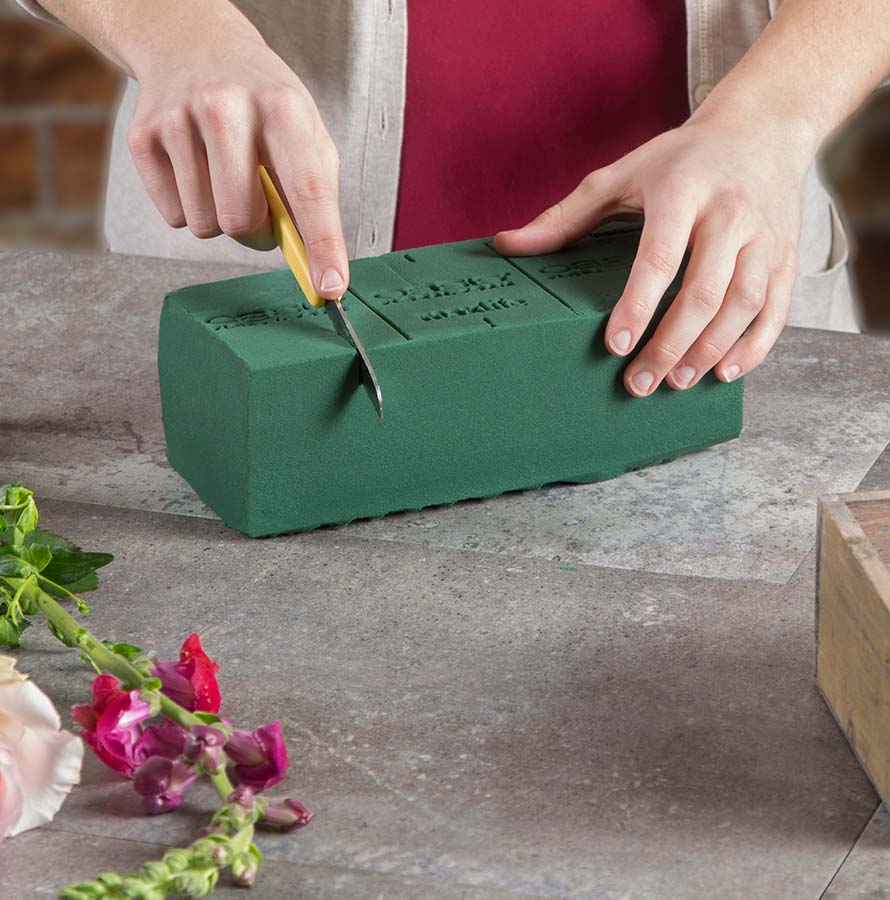
You can cut floral foam into any shape you want. Or buy it in the shape and configuration for your application including cones, spheres, wreaths, caged, mache, bouquet holders, tiles, garlands and many more that save time and offer placement options.
With foam you get design stability and flexibility, a water source and efficiency.
Which foam should you use?
Designers sometimes ask: “Which type of floral foam should I use?”
Smithers-Oasis floral foam bricks and blocks come in light, medium and higher density. There are also instant versions with holes for faster water absorption and Midnight foam, which turns black when wet.
Springtime: a light density for softer stems like tulips, Iris and other spring bulb flowers.
Standard: medium density foam for most types of flowers such as carnations, roses, lilies, etc.
Instant: medium density with holes for faster water absorption also for use with most types of flowers.
Deluxe: a higher density foam to hold large and sturdy stems like tropicals and woody stems. It can be used for all flowers.
Instant Deluxe: the same higher density with holes.

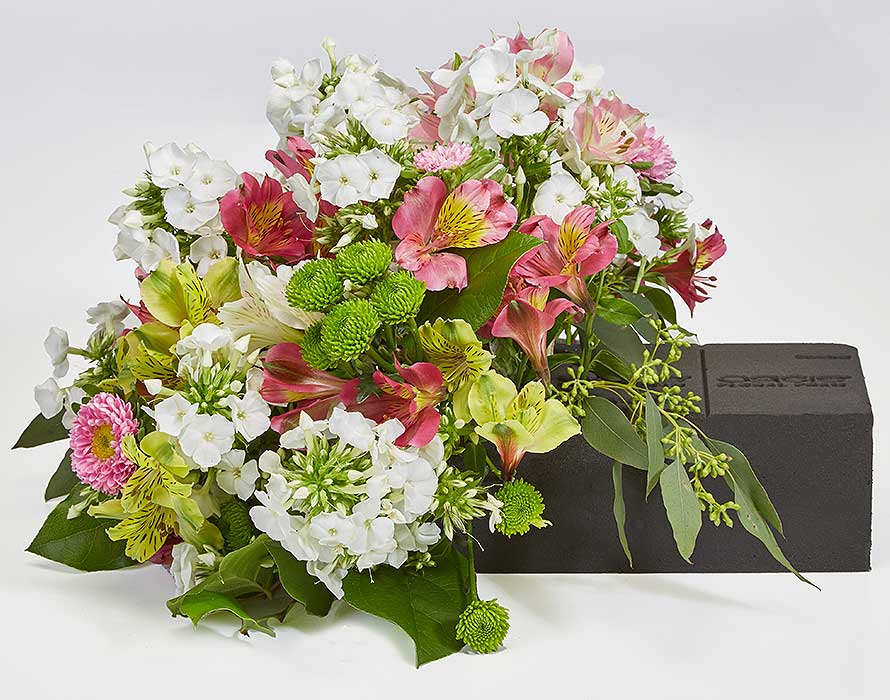
Midnight: Midnight floral foam is gray when dry and turns black when wet. Black foam visually recedes in an arrangement, which can allow more space between stems. For large designs especially, you can increase perceived value with fewer flowers. Unlike the old Rainbow foam, Midnight saturates with water as quickly as classic green foam.
Scientifically formulated to help freshly foraged plant material live longer, OASIS Forage Foam serves as a fundamental element for foraged floral arrangements.
There's also SAHARA, a dry floral foam for permanent botanicals or dried flower arrangements.
Download the guide to foam types
Other sizes and shapes
Grande Brick is the size of two blocks of foam. Designer Block is the size of 6 blocks of foam. Convenience Cut Foam is perfect for small glass cubes and containers.
Floral foam shapes include hearts, spray bars, crosses, cages, design rings Table Decos, sports shapes and many others.
Try these quick tips

To produce a more rounded foam form, angle the edges with your floral knife. We tend to stop inserting when a stem connects securely with the foam. A convex form more easily results in a rounded flower surface.
If you’re using large stemmed flowers or designing a large arrangement, add more strength to your design by placing florist netting over the floral foam. Add a grid of waterproof tape to hold the netting and foam securely in the container.

To easily create a topiary, press a netted sphere onto a dowel rod or PVC pipe and hot glue the bottom of the sphere to the rod. Apply waterproof tape for added security.
After finishing a bouquet in a foam-filled bouquet holder, apply Floralock stem adhesive to lock the flowers in place. This can also help secure the cascading flowers in large arrangements that must be moved to an event.
Floral foam can be cut or molded into interesting shapes like these Easter eggs.

Hydrating the foam
Use the float-soak method to hydrate floral foam with water that includes flower food. Lay the floral foam atop a basin of water and let it sink into the water by its own weight.
Allow foam to fully saturate, approximately 2 minutes. Do not exceed 20 minutes.

Soaked floral foam should be used within 1 to 2 weeks. Once wet floral foam has dried, it cannot be re-wet.
Floral Foam can last up to 12 months when stored in a dry dark place. It can turn brown rather quickly if left in sunlight or damp conditions.
Cutting stems for foam

Cutting flowers with a sharp knife opens the interior waterways. Clippers tend to press them together.
Cut stems at a sharp slant slice through foam like an arrow. This creates a secure fit for the stem in the foam.
Carefully insert flowers about 1-inch to 1.5 inches into wet foam to securely place a vertical stem. Insert a horizontal stem 1.5-inch to 2-inches.
Be sure the inserted flower stem fully connects inside the foam so the flower has access to water.
If you need to remove a stem, simply clip it off at the edge of the foam. This preserves the integrity of the foam rather than leaving a hole.
Prep your foam

When preparing for a large event, save design-day time by prepping utility containers (like this Lomey Designer Dish) in advance.
- Cut your foam to fit the dish.
- Dip the bottom of the foam into pan melt glue or use hot glue.
- Secure the foam to the bottom of the container and let the glue dry.
- Add a grid of waterproof tape to doubly securing the foam to the dish. Never use an X across the center of the foam as this blocks the central axis point.
- Prior to your design time, place the foam-filled-containers in water to soak.
This is an efficient way to prep containers to sit atop tall glass vases for elevated designs.
Choose the right foam

Use this guide to help you save time and money by choosing the right density of floral foam for each of your projects.
What questions do you have about floral foam?
4 comments
Thanks for your question, K, about why I like to soak my foam in advance. Simply stated – I like to be extra-prepared in advance! Floristry involves a lot of last-minute requests and details. I find that being uber-prepared with the design steps I know I have to take, helps to offset any unexpected tasks. Soaking my foam in advance is one less step required during design time. If I need to drain a water-saturated foam product before designing for an event, I have the extra time to do so.
Why do you prefer to soak foam overnight when it takes no more than 90 seconds to be saturated with water? Is there any advantage to soaking it overnight? Thanks.
Sorry, Linda Burton, I have no experience with adding fragrances to foam. Readers, do any of you have suggestions to offer for adding flower fragrance to artificial/paper flower centerpieces?
We have an artificial/paper flower centerpiece. We want multi-sensual effect. What fragrance do you recommend adding to the foam?
